
Table of Contents
How to Attach Bindings to Skis
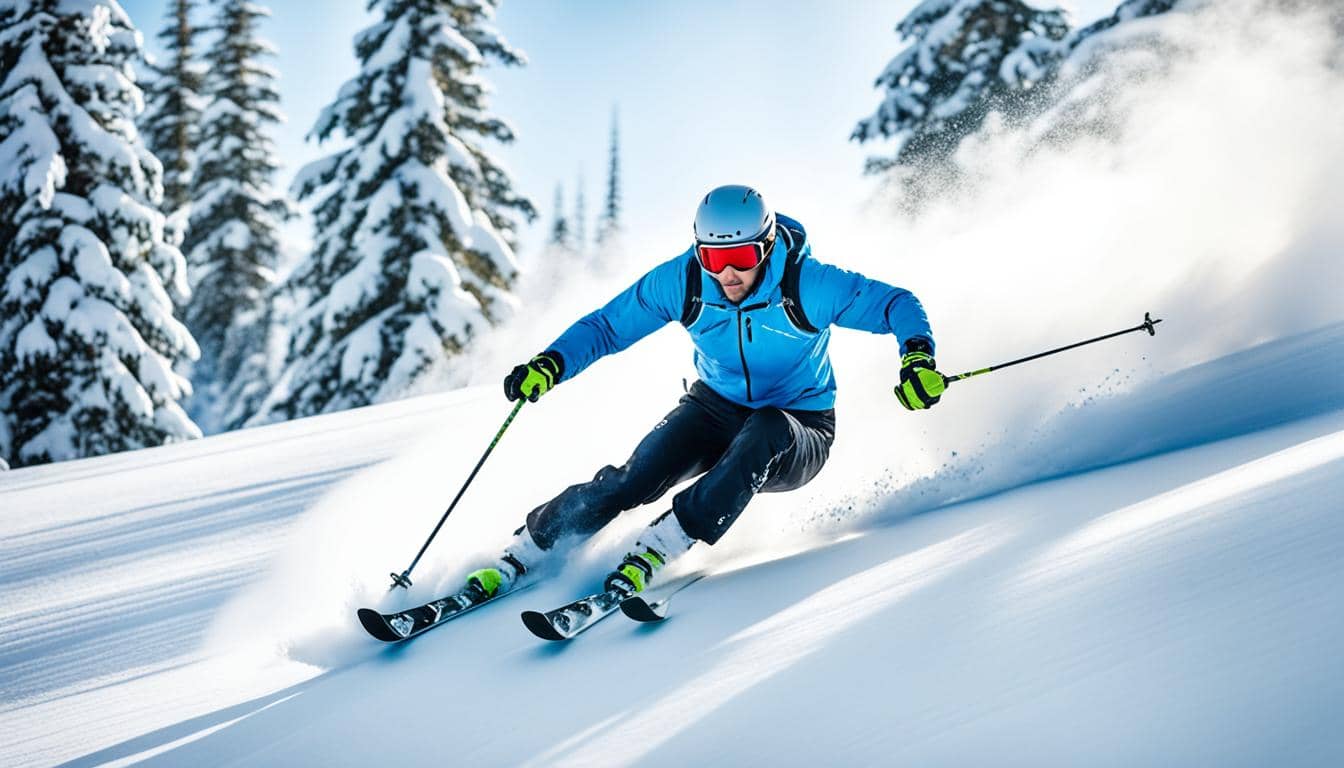
Imagine standing atop a snowy peak, the crisp air biting at your cheeks, ready to carve your path down the mountain. Now, what’s the one thing ensuring your skis stay with you through every twist and turn? Ski bindings. These unsung heroes are the essential link between your boots and skis, and understanding their importance is the first step to a safe and thrilling skiing experience.
Understanding the Importance of Ski Bindings
Why are ski bindings the linchpin of your gear? It’s simple: they provide the perfect balance between secure attachment and necessary release. Without them, you’d be at the mercy of the mountain’s whims. With them, you’re in control, able to navigate with precision and confidence. They are, quite literally, your lifeline, designed to release your boots under certain conditions to prevent injuries during falls. So, when we talk about the importance of ski bindings, we’re talking about your safety and performance on the slopes.
The Role of Ski Bindings in Skiing Safety
When it comes to skiing safety, bindings are your first line of defense. They’re engineered to detect pressure that exceeds your ability to stay upright, allowing the boot to release and minimize the risk of injury. Think of them as your personal bodyguard, ever-vigilant and ready to act in a split second to protect you. But they’re not just there for safety; they also enhance your skiing technique by ensuring a seamless transfer of energy from your legs to your skis. This means more control, more precision, and ultimately, more fun!
As you clip into your skis, ready to embrace the mountain’s challenge, remember that your ski bindings are more than just a piece of equipment—they’re your trusty companion on every exhilarating descent.
The Basics of How to Attach Bindings to Skis
Necessary Tools for Attaching Ski Bindings
Embarking on the journey of attaching bindings to your skis can be a rewarding DIY project. But before we dive in, let’s ensure you’re equipped with the right tools. You’ll need a reliable drill, a set of drill bits specifically designed for ski mounting, a Posidriv screwdriver, and a binding jig that matches your bindings. Don’t forget a torque driver to achieve the perfect tension on your screws, and a tap to thread the holes in your skis. It’s a bit like assembling a high-tech puzzle, and having the correct tools is the first piece of the puzzle.
Step-by-Step Guide on How to Attach Bindings to Skis
Now, let’s get down to business. The process of attaching ski bindings may seem daunting, but with these steps, you’ll be gliding down the slopes in no time.
Step 1: Determine the Bindings’ Placement
First things first, where exactly should your bindings sit? This isn’t just about aesthetics; it’s about performance and comfort. The manufacturer’s recommended mounting point is a great starting line, but if you’re an experienced skier with a preference for how your skis handle, you might opt for a custom placement. Just remember, precision is key.
Step 2: Centering and Aligning the Binding Jig
Think of the binding jig as your trusty guide. Align it carefully with the ski’s marks and ensure it’s centered. This is the blueprint for your drill work, and it’s essential for avoiding a misstep that could lead to a less-than-optimal skiing experience.
Step 3: Drilling the Holes
It’s time to drill, but proceed with caution. Use the drill bit that corresponds to your ski’s material and the screws you’re using. Drill steadily and stop when you reach the right depth—no further. This isn’t a race; it’s a craft.
Step 4: Tapping and Cleaning
Once you’ve made your holes, it’s time to tap them to create the threads that will hold your screws. Follow with a vacuum or compressed air to remove any debris. A clean hole is a happy hole.
Step 5: Attaching the Bindings
With your holes prepped, position the bindings and start screwing them in. Remember the torque driver? This is where it shines. Tighten the screws until they’re snug, but don’t overdo it—we’re looking for a firm fit, not a stripped screw.
Step 6: The Final Check
Before you call it a day, give everything a once-over. Are all the screws tight? Do the bindings line up perfectly with your boots? This is your safety we’re talking about, so double-checking is non-negotiable.
And there you have it, folks! You’ve just mastered the art of attaching ski bindings. Remember, practice makes perfect, and while it might seem intricate at first, you’ll be a pro with a little patience and precision. Now, go hit those powdery slopes with the confidence of a well-prepped skier!

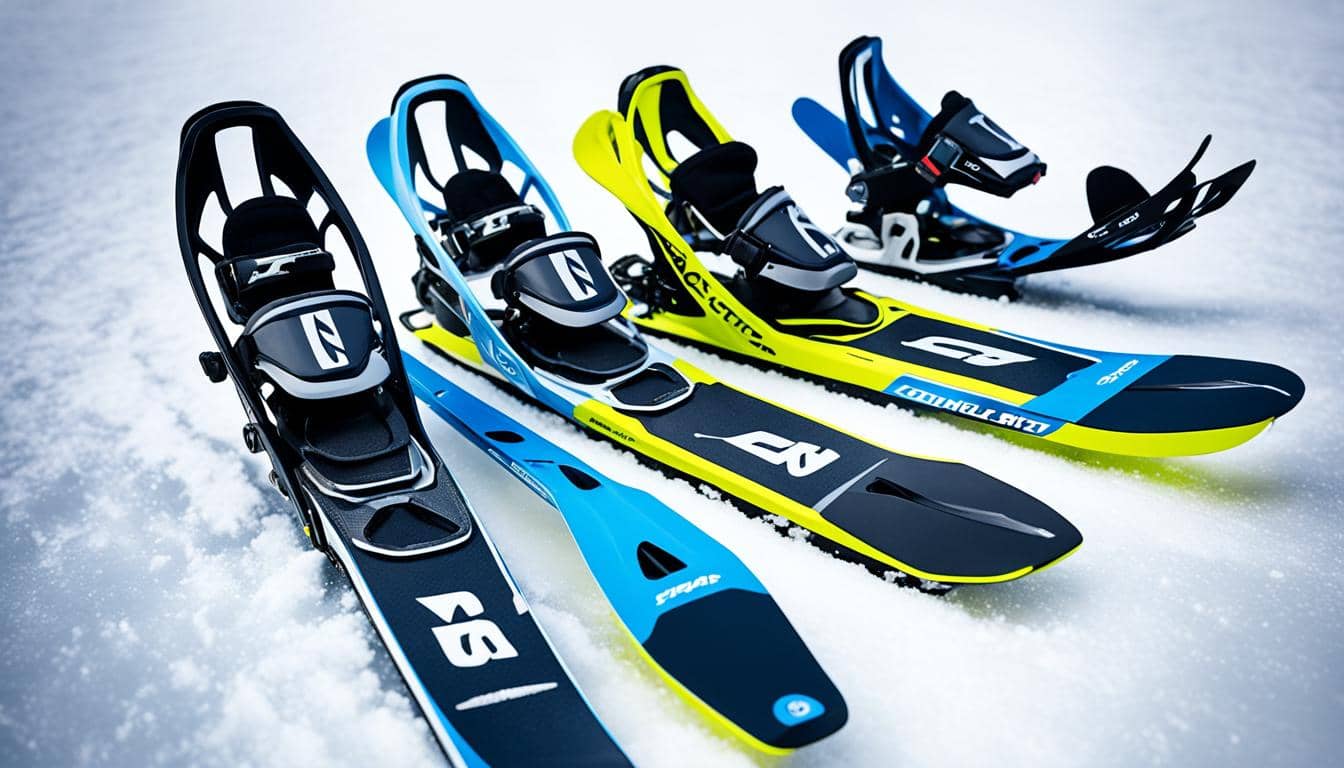
Different Types of Ski Bindings and Their Installation Process
Have you ever pondered the pivotal role that ski bindings play in your mountain escapades? They are, after all, the unsung heroes that tether you to your skis, and getting to know them is essential. Let’s delve into the world of ski bindings and explore the nuances of their installation.
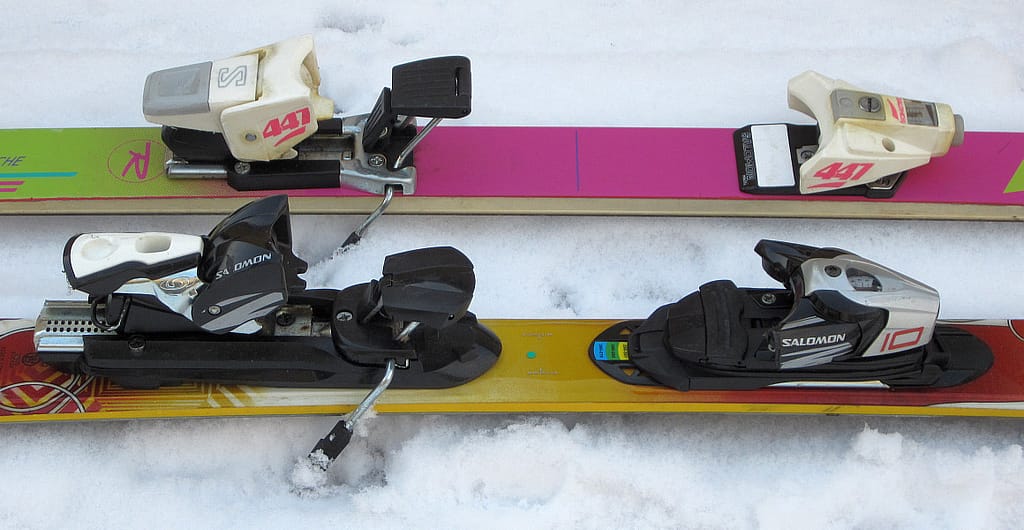
Alpine Ski Bindings
Alpine ski bindings are the stalwarts of resort skiing. They are designed to keep you securely attached to your skis while carving down groomed slopes and to release in the event of a fall to minimize the risk of injury. When it comes to installation, precision is key. The bindings must be mounted in alignment with the ski’s core center, which is usually indicated by a mark on the ski. A professional installation is often recommended, as it involves drilling into the ski, setting the bindings, and adjusting the DIN settings based on your weight, skill level, and skiing style. Remember, an ill-fitted binding can be the difference between a spectacular day on the slopes and an unnecessary tumble.
Touring Ski Bindings
On the flip side, touring ski bindings are the adventurers’ choice for those who seek the serenity of untouched snow away from the bustling ski resorts. These bindings differ from their alpine counterparts by offering a ‘walk’ mode that allows for a natural stride during uphill climbs. Installation of touring bindings requires a compatible ski, as well as careful consideration of the binding’s pivot point to ensure efficient energy transfer during ascents. Just like alpine bindings, it’s a meticulous process that might involve a template for drilling holes and securing the binding with screws. The heel piece is particularly important as it needs to switch between locked-down for descents and free-heel for ascents.
Common Mistakes When Attaching Ski Bindings
Imagine you’re all set for a thrilling day on the slopes, but there’s a hiccup: your ski bindings, that crucial link between your boots and skis, are giving you grief. It’s a scenario we’d all like to avoid, right? Well, attaching ski bindings might seem straightforward, but it’s easy to fall into a few common traps. Let’s dive into the pitfalls you should sidestep to ensure your ski adventure doesn’t slide into a slippery situation.
Inaccurate Positioning of Bindings
First up, inaccurate positioning of bindings. It’s the linchpin of your skiing experience. Get this wrong, and you’re looking at a day filled with awkward turns and imbalanced stances. You want to be the master of the mountains, not a downhill disaster! So, how do you nail the perfect placement? It’s all about the boot center mark. Align this with the ski’s midpoint mark, and you’re golden. Don’t just eyeball it – precision is key. A misalignment, even by a few millimeters, can throw off your entire game.
Over-Tightening of Screws
Next, let’s talk about over-tightening of screws. We get it, you want those bindings to stay put, but cranking those screws too tight can lead to a world of woe. The result? Stripped screws, damaged skis, and bindings that might not release when you need them to. It’s a safety hazard that’s easily avoided. The magic tool? A torque screwdriver. This handy gadget will help you apply just the right amount of force. Remember, snug, not Superman tight.
Here’s a little table to illustrate the point:
| Torque Setting | Result |
|---|---|
| Too Low | Bindings may come loose |
| Just Right | Secure fit without damage |
| Too High | Potential damage to bindings/skis |
5 Hidden Alpine Treasures: Most Enchanting Ski Resorts in Europe
Unveil the charm of Europe’s lesser-known ski resorts in our guide to hidden Alpine paradises. From serene slopes to[…]
5 Key Balance Exercises for Superior Ski Performance
Discover 5 crucial balance exercises for skiing to improve stability and performance on the slopes. Enhance your skiing experience
Alpine vs Nordic Skiing: Choose Your Slope Style
Explore the thrill and grace of the slopes as we delve into alpine vs nordic skiing – find out[…]
Maintaining and Checking Your Ski Bindings
Imagine standing atop a powdery slope, the crisp mountain air filling your lungs. You’re ready to conquer the trails, but before you do, there’s one crucial element you must check – your ski bindings. These unsung heroes play a pivotal role in your safety and performance on the slopes. Regular maintenance and inspections are not just recommended; they’re essential.
Regular Inspection for Wear and Tear
Like a trusty car that needs its regular oil change, your ski bindings require consistent check-ups to ensure they’re in tip-top shape. How often, you ask? At a minimum, a thorough inspection at the beginning and end of the season is a must, but for those frequent flyers on the snow, checking before every few outings is even better.
What should you look for? Keep an eye out for any visible damage, such as cracks or wear on the bindings, and ensure that all screws are tight and not corroded. Don’t forget to check the binding’s release settings – they should always match your weight, skiing style, and ability. A simple chart can help you determine if your settings are on point:
| Skier Weight (lbs) | Ability Level | Recommended DIN Setting |
|---|---|---|
| 100-125 | Beginner | 3-4 |
| 125-150 | Intermediate | 4-5.5 |
| 150+ | Expert | 5.5+ |
Keep in mind that these are general guidelines, and it’s always best to consult with a professional for the most accurate settings.
When to Seek Professional Help
DIY is all the rage, but when it comes to your safety on the slopes, sometimes it’s best to leave it to the pros. If you notice any issues during your inspection that you’re not 100% confident in fixing, don’t hesitate to seek professional help. This is especially true if you’ve had a significant crash, as the bindings’ internal mechanisms could be damaged even if everything looks fine on the outside.
Conclusion: Mastering the Art of Attaching Bindings to Skis
Embarking on the journey of mastering the art of attaching ski bindings is akin to fine-tuning your favorite guitar. It requires precision, patience, and a touch of finesse. By now, you’re equipped with the knowledge that ski bindings are not just an accessory but the linchpin of your skiing experience. They are the crucial connection between your boots and skis, ensuring your safety and enhancing your performance on the slopes.
Throughout this guide, we’ve taken a deep dive into the nuances of ski bindings, from understanding their paramount importance in skiing safety to the meticulous process of attaching them to your skis. We’ve covered the different types of bindings, like Alpine and Touring, and the unique installation process each requires. With the common mistakes highlighted, you’re now more aware of the potential pitfalls, such as inaccurate positioning and over-tightening of screws, which could hinder your skiing adventure.
Maintaining and checking your bindings should be as routine as checking the weather before heading out. A regular inspection for wear and tear is not just recommended; it’s essential. And remember, when in doubt, seeking professional help is not a sign of defeat but a step towards ensuring your safety and the longevity of your gear.
As you stand on the precipice of this snowy endeavor, remember that practice makes perfect. Whether you’re a seasoned skier or a novice, the art of attaching ski bindings is a skill that can always be refined. So, go ahead, make your mark on the mountain, and let the bindings be the symphony that orchestrates your descent.
Frequently Asked Questions (FAQs)
How often should I check my ski bindings?
Great question! It’s important to check your ski bindings for any signs of wear or damage before every ski trip. Additionally, a thorough inspection by a professional should be done at least once a year, typically at the beginning of the ski season. This ensures that they are set correctly for your weight and ability level, and that all components are functioning properly. Remember, conditions on the slopes can change, and so can your skiing style or weight, which might necessitate adjustments to your bindings.
Can I install ski bindings by myself?
While it’s possible to install ski bindings on your own, especially if you have the right tools and some mechanical know-how, I generally recommend having them mounted by a certified ski technician. They’ll ensure that the bindings are correctly positioned for your specific boot size and skiing style, and they’ll set the release tension appropriately. If you’re set on doing it yourself, make sure to follow the manufacturer’s instructions carefully and consider getting your work checked over by a pro afterwards.
What are the signs of faulty ski bindings?
Signs of faulty bindings include visible damage like cracks or corrosion, difficulty stepping in or out of the bindings, or an unexpected release while skiing. If you notice that your bindings are not holding your boots securely, or if they seem to release too easily or not at all, it’s time to get them checked out. These could be signs that the bindings need repair or adjustment, and skiing on faulty bindings can increase your risk of injury.
How does the type of ski binding impact the installation process?
The type of ski binding you have definitely impacts the installation process. For instance, alpine ski bindings are typically mounted directly onto the skis and require precise positioning and drilling. Touring bindings, on the other hand, may have different mounting requirements to accommodate both uphill and downhill modes. Always refer to the specific installation instructions for your type of binding, and when in doubt, seek out a professional.
How to ensure the correct positioning of ski bindings?
To ensure correct positioning, you’ll need to consider your skiing ability, style, and body weight. Bindings should be centered over the ski’s “sweet spot,” which varies depending on the ski model and the intended use. Most skis have a recommended mounting point. When in doubt, consult with a ski technician who can help determine the optimal position for you. They use specialized jigs and tools to align and drill with precision. Remember, even a small error in positioning can affect your control and performance on the slopes.


No responses yet